Grey Knights Dreadknight Painting Guide
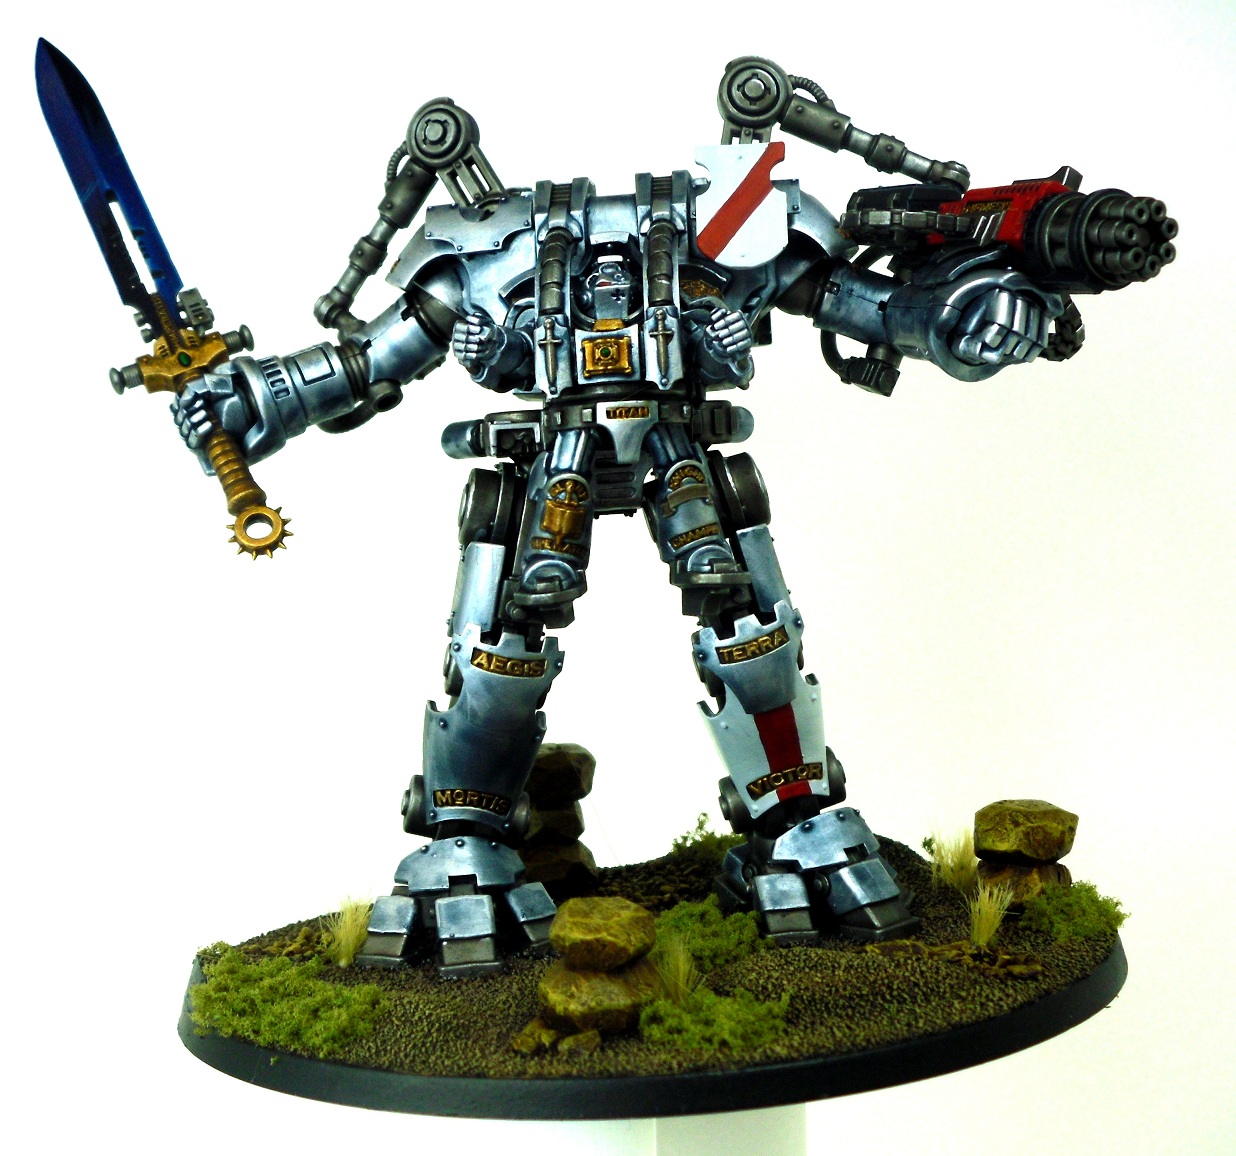
I found the main problem with this model, is the sheer amount of silver! Using different techniques on areas to vary the shades of silver is a must, very few other details, the trickiest bit is probably the sword.. there’s so many ways to paint s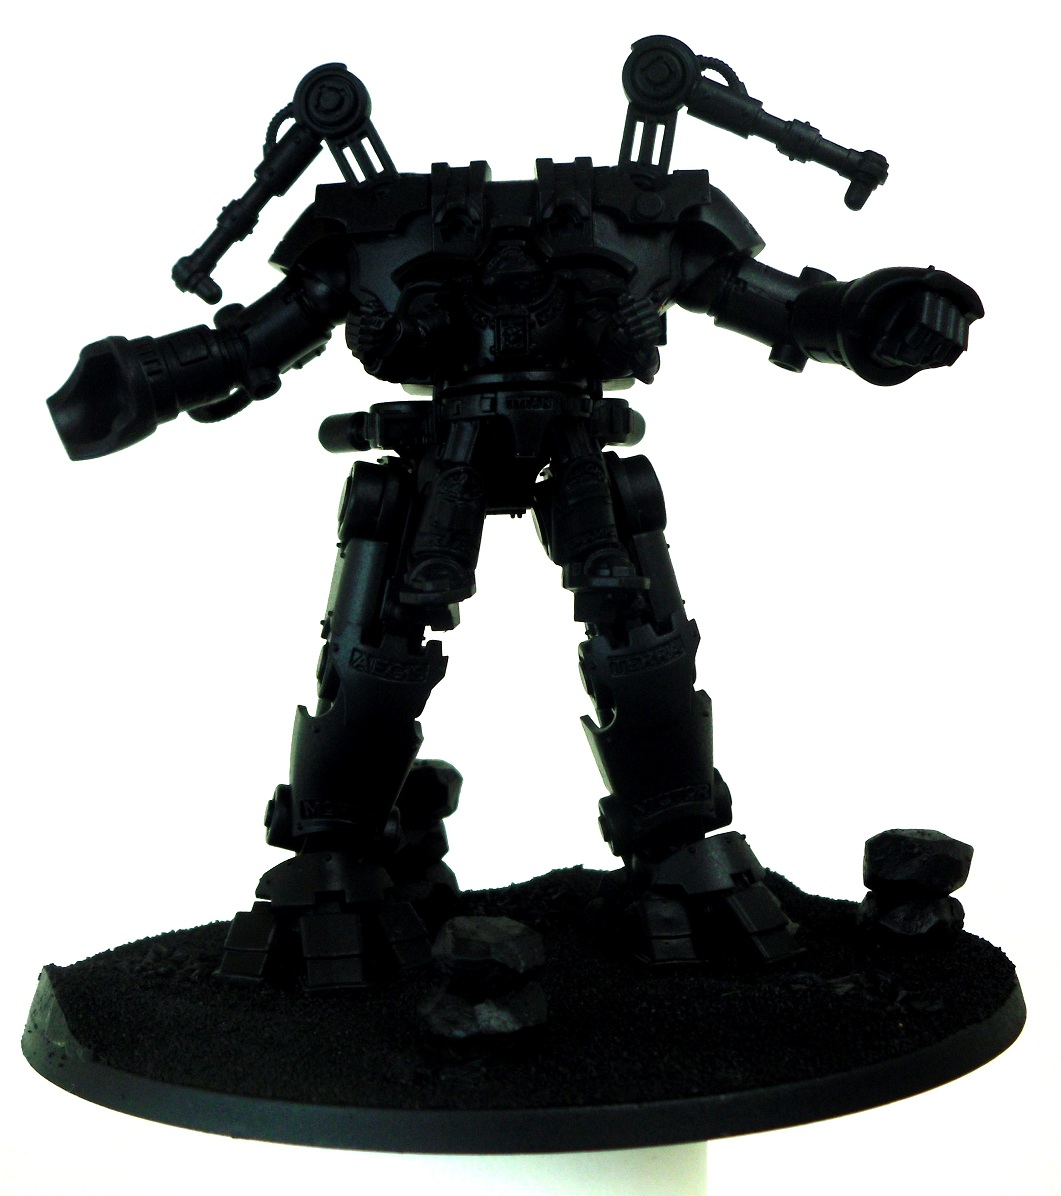 words, research a few if you don’t like what i did.
UNDERCOAT
First undercoat the model in black paint, this can be painted on with a brush, but i find this leaves an un-even finish. For the professional look I always recommend using a spray-paint, the one i used here is ARMY PAINTER BLACK. This easily gets into all the little nooks, and gives a great painting surface.
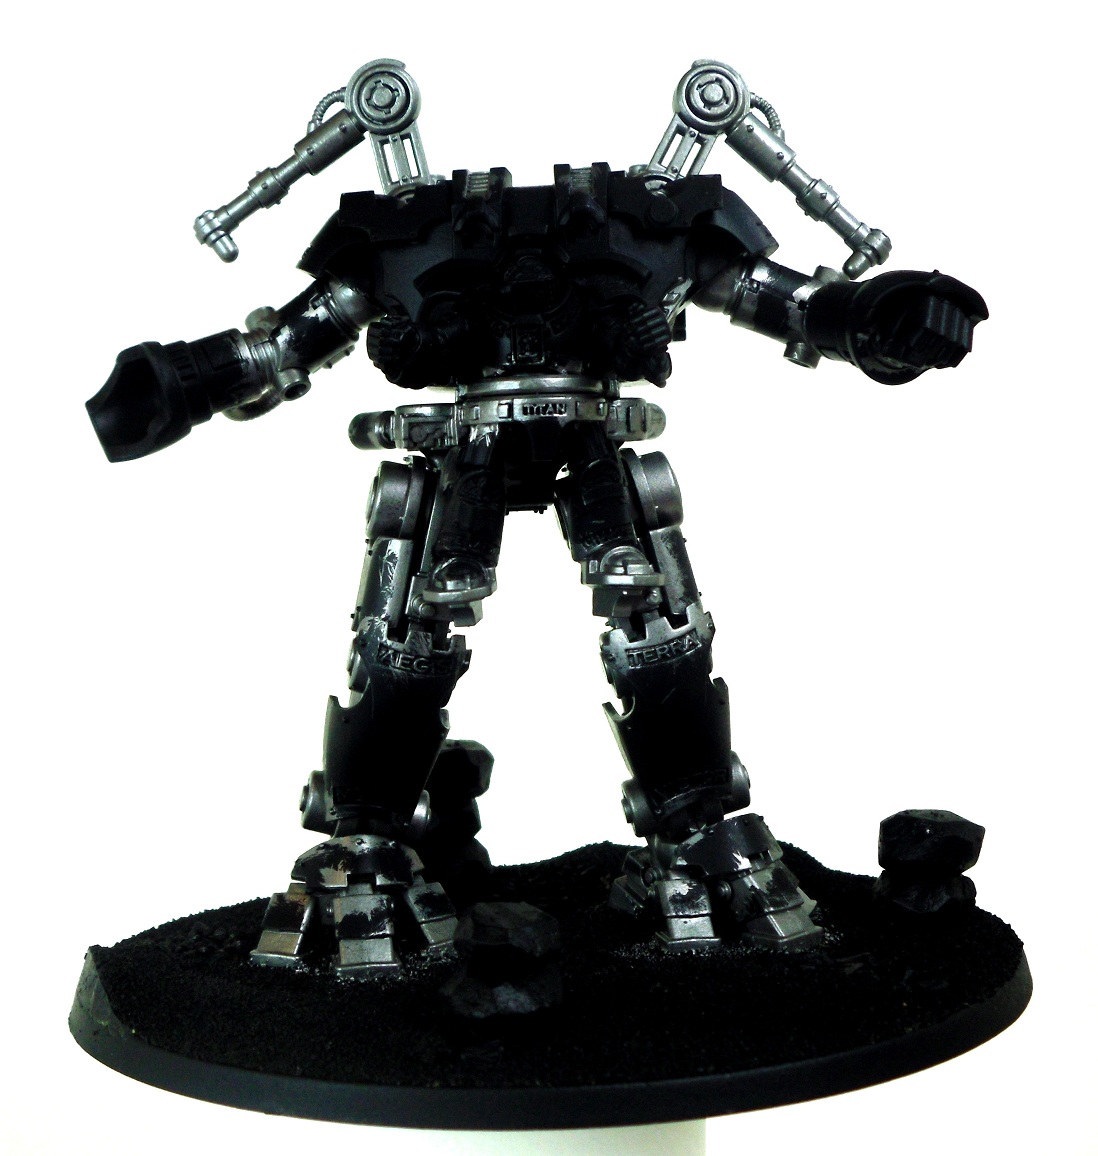
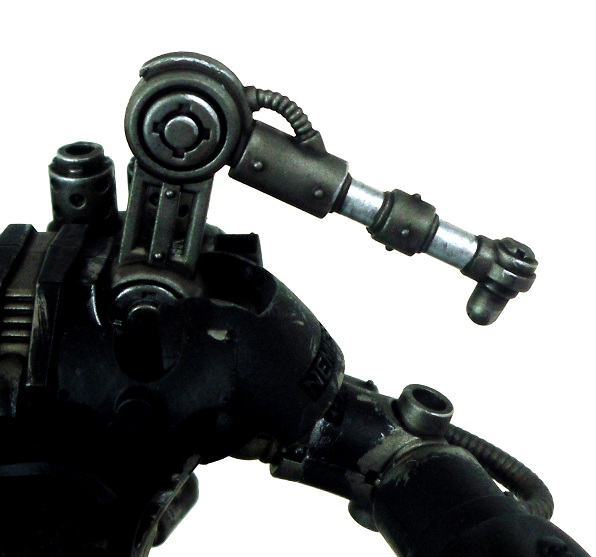
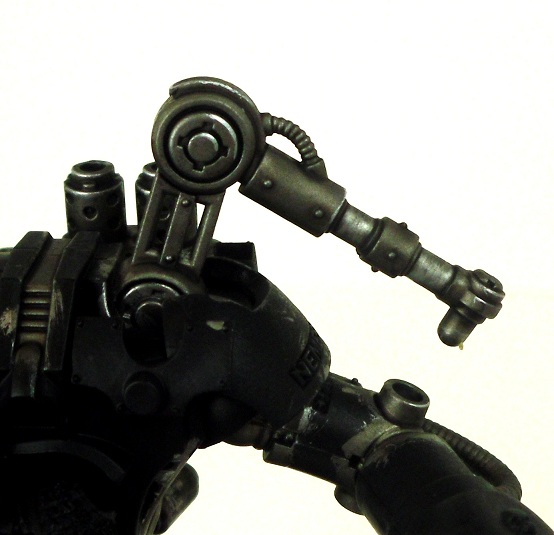
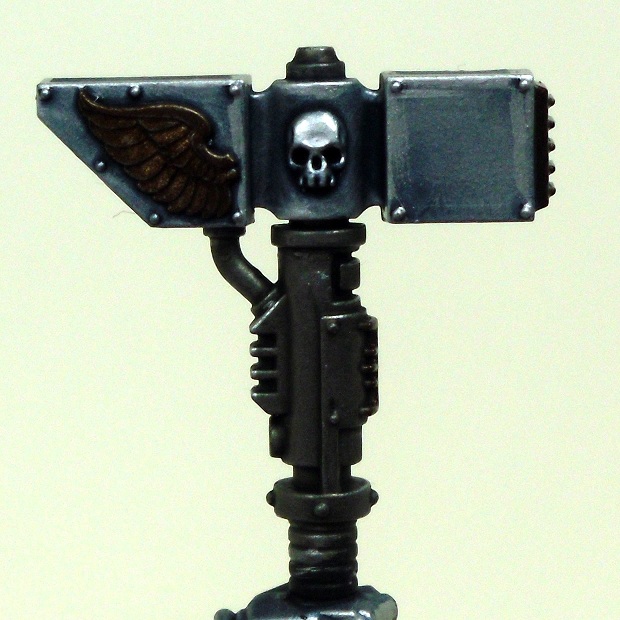
METAL
This first section shows you how to paint all the functional metal pieces (not armour plates)
1 – Paint all metal pieces in BOLTGUN METAL, you don’t have to be too neat at this stage, as its the first colour on, and we’ll be painting all the other areas different colours.
2 – Cover all these areas with a wash mix, 50/50 BADAB BLACK & DEVLAN MUD. This makes the metal look more worn, and the brown
shade makes a good contrast to the silver/blue armour.
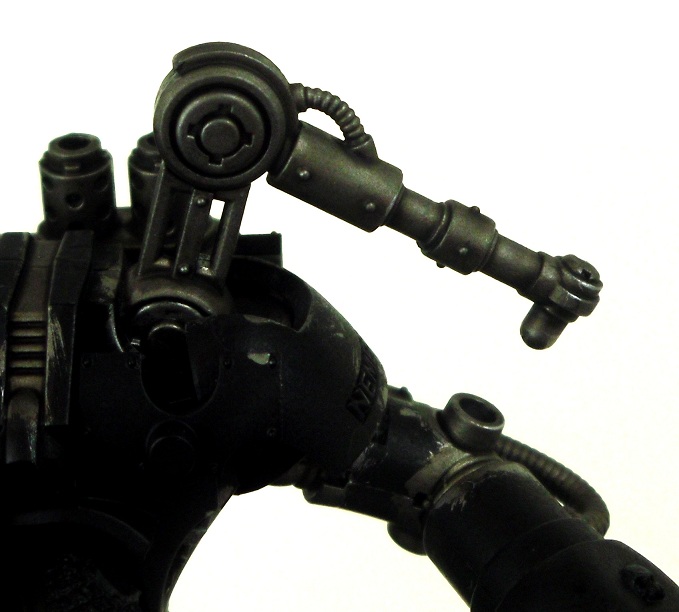
3 – using MITHRIL SILVER, edge highlight any sharp edges of the metal, its best to do the upper edges, as it looks like light reflecting from the corners. Also paint any piston parts in this colour, there are a few hidden on the back of the legs too.
4 – Paint over pistons, with a light wash of BADAB BLACK.
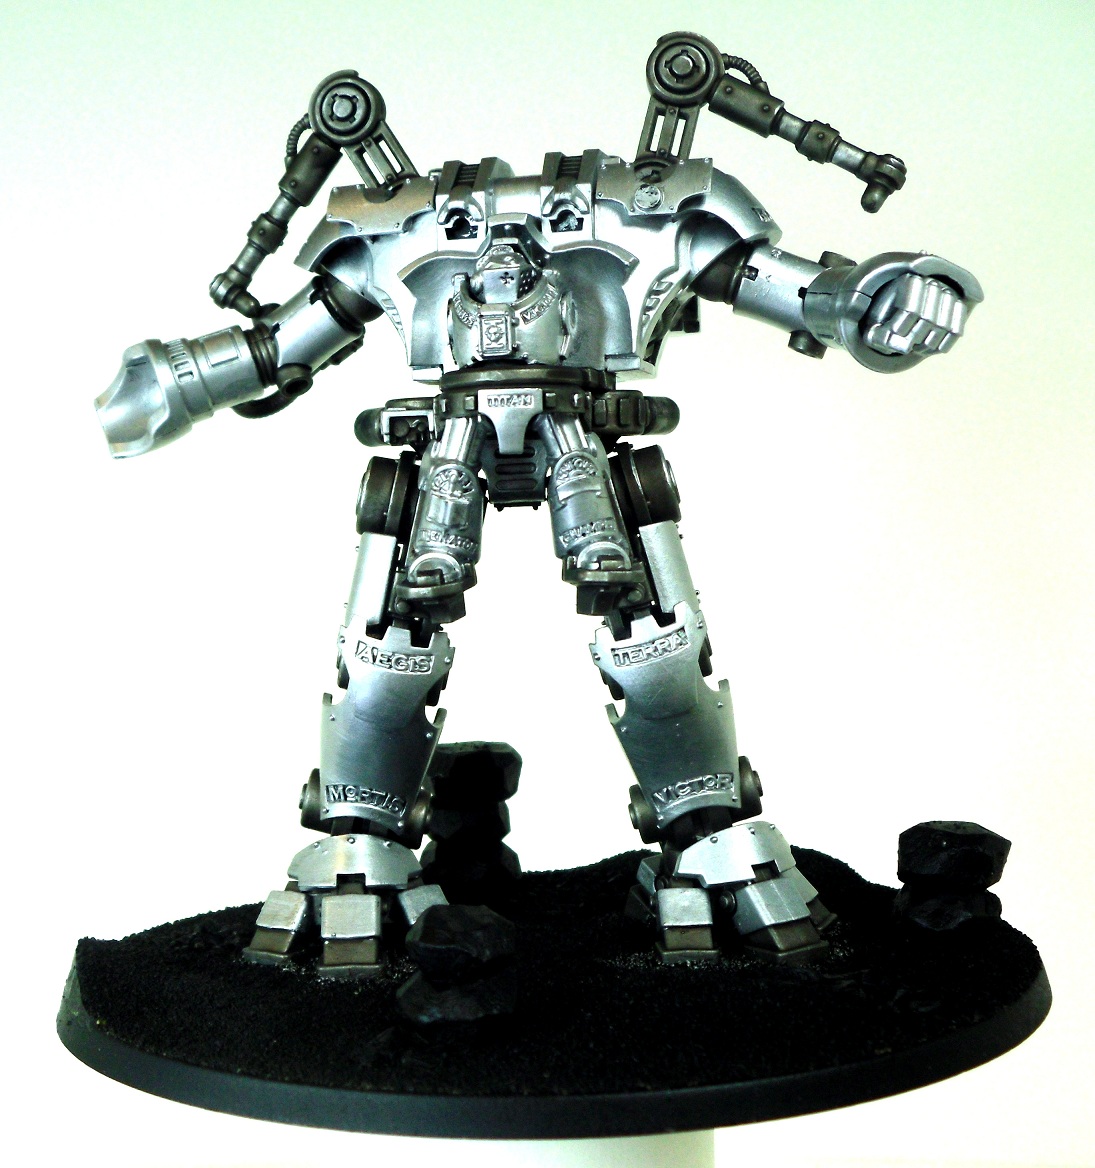
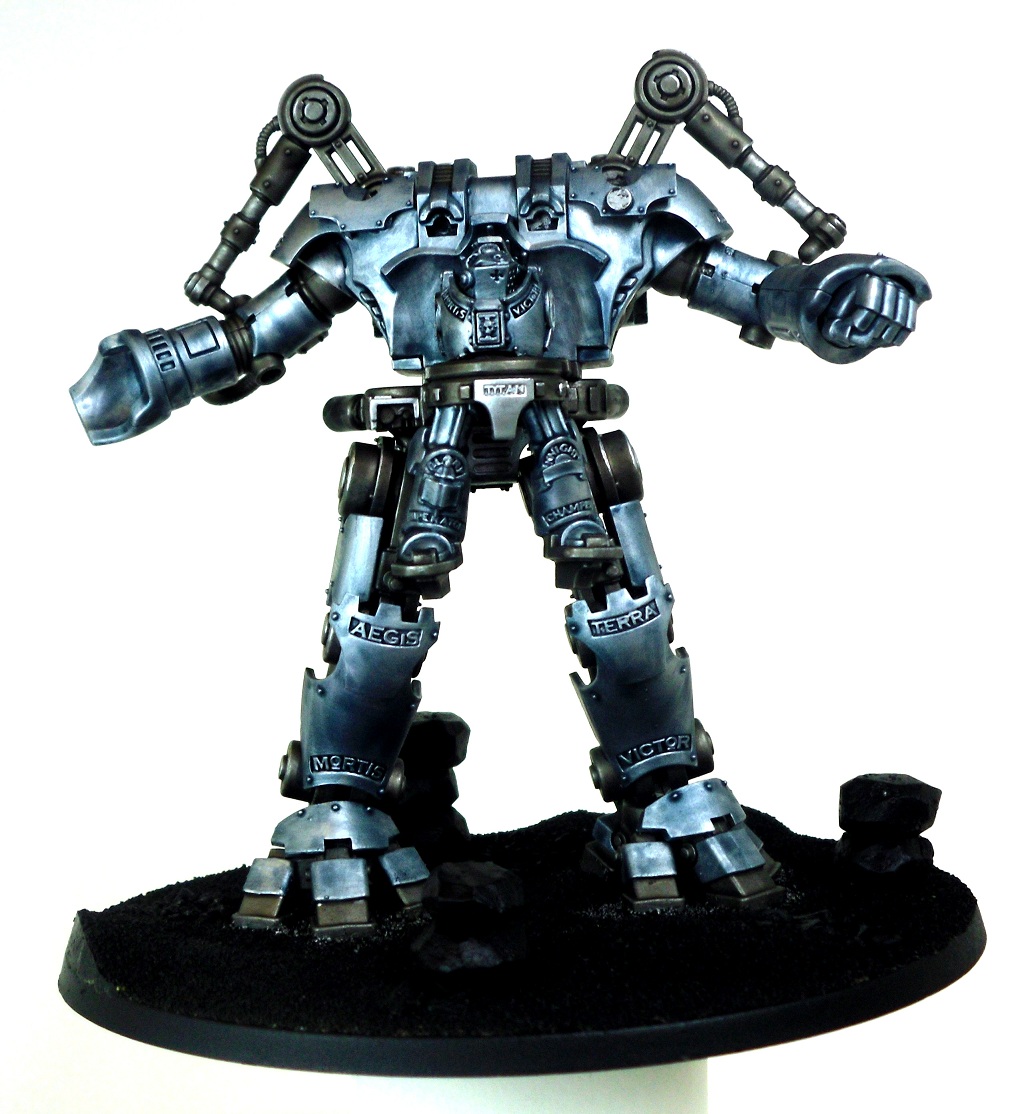
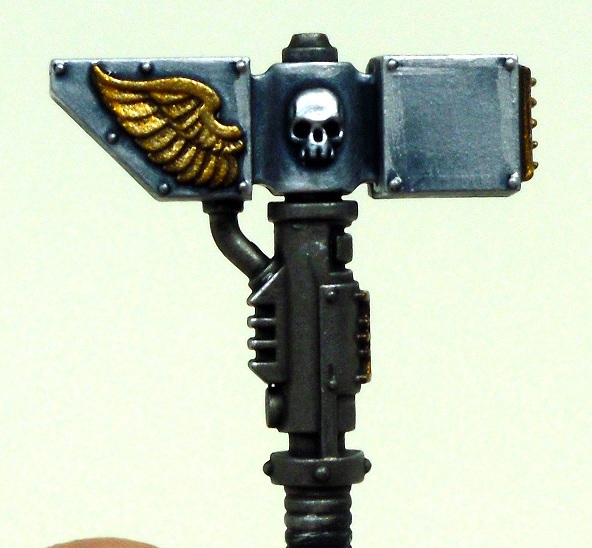
ARMOUR
This is the grey knights trademark, so it needs to look right, we’re going for a bright silver with a bluish tint.
1 – Paint all the armour plates MITHRIL SILVER
2 – Wash all the armour in a 60/40 mix of ASURMEN BLUE / BADAB BLACK. Only a light wash and try to make it as even as possible, so there aren’t patches of wash in the wrong places, its ok to leave little pools around rivets and the in corners, not on the smooth surfaces.
3 – Edge highlight the corners of the plates again with MITHRIL SILVER
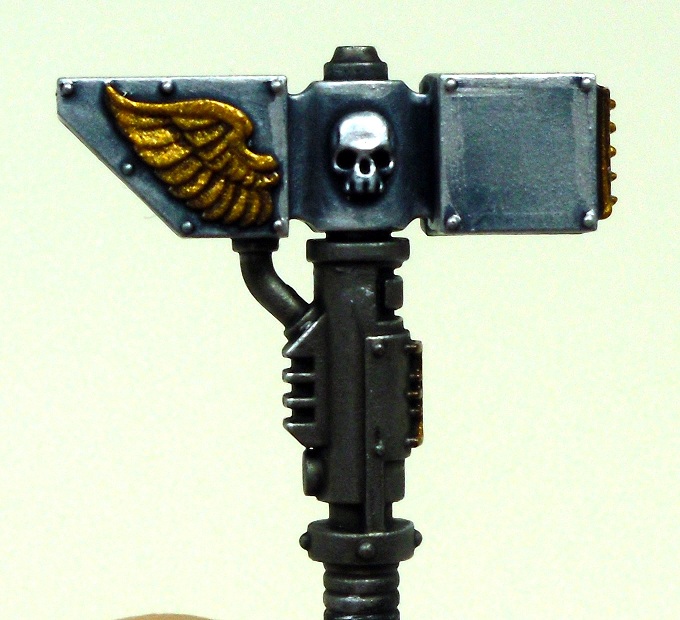
GOLD
Break up those large silvery areas with some nice shiny gold bits, anything that looks like an embellishment is good to paint gold.
1 – Paint with TIN BITZ, this is a great base for any gold/bronze colour.
2 – Wetbrush over these areas with SHINING GOLD ( Wetbrushing is a technique verry much like drybrushing…. but not surprisingly
you leave more paint on the brush, gently moving over the raised areas highlighting them)
3 – Apply a lighter wetbrush of a 70/30 mix of SHINING GOLD / MITHRIL SILVER, further highlighting these parts.
4 – Finish with a light wash of GRYPHONNE SEPIA, this blends the gold colours together finishing it nicely.
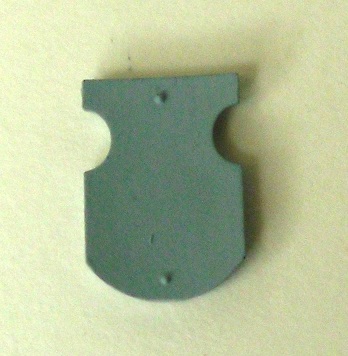
WHITE & RED
This section covers the white and red areas, white can be tricky to do, but this technique is pretty easy if you take your time.
Parts like the guns, are just painted red, while the heraldry plates are first painted white, with red details added over the top, as this is allot easier than white over red.
1 – Using ASTRONOMICAN GREY paint any areas you want to be white (heraldry plates)
2 – Mix a 80/20 SKULL WHITE/ASTRONOMICAN GREY and paint over these plates, this should look almost white. pure white plates never
quite look right, as you have no brighter colour to highlight with!
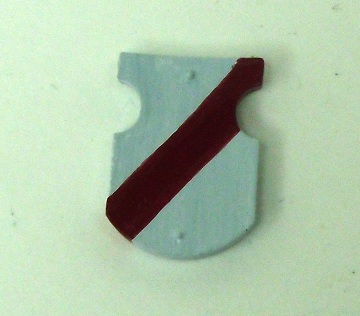
3 – Paint any red areas with MECHRITE RED, I freehanded the lines on the white plates, there’s an easy way to do this…
start by painting on a thin line, slowly going over it repeatedly, thickening the line at some points to straighten it out
eventually the line should be straight, and a good thickness.
4 – Highlight the red areas with BLOOD RED
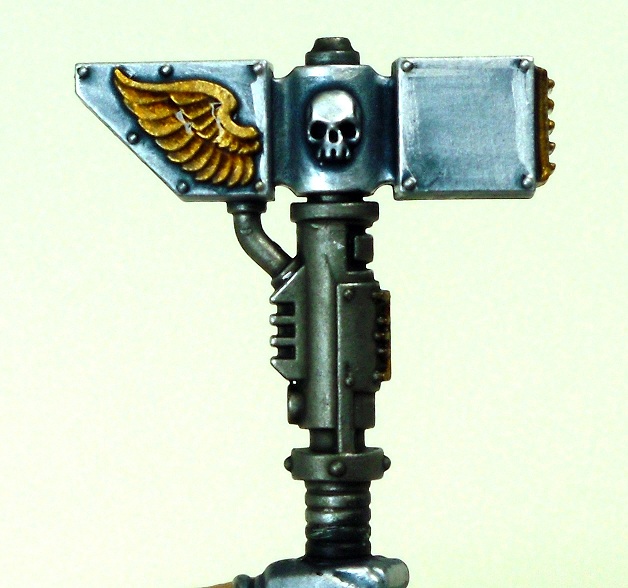
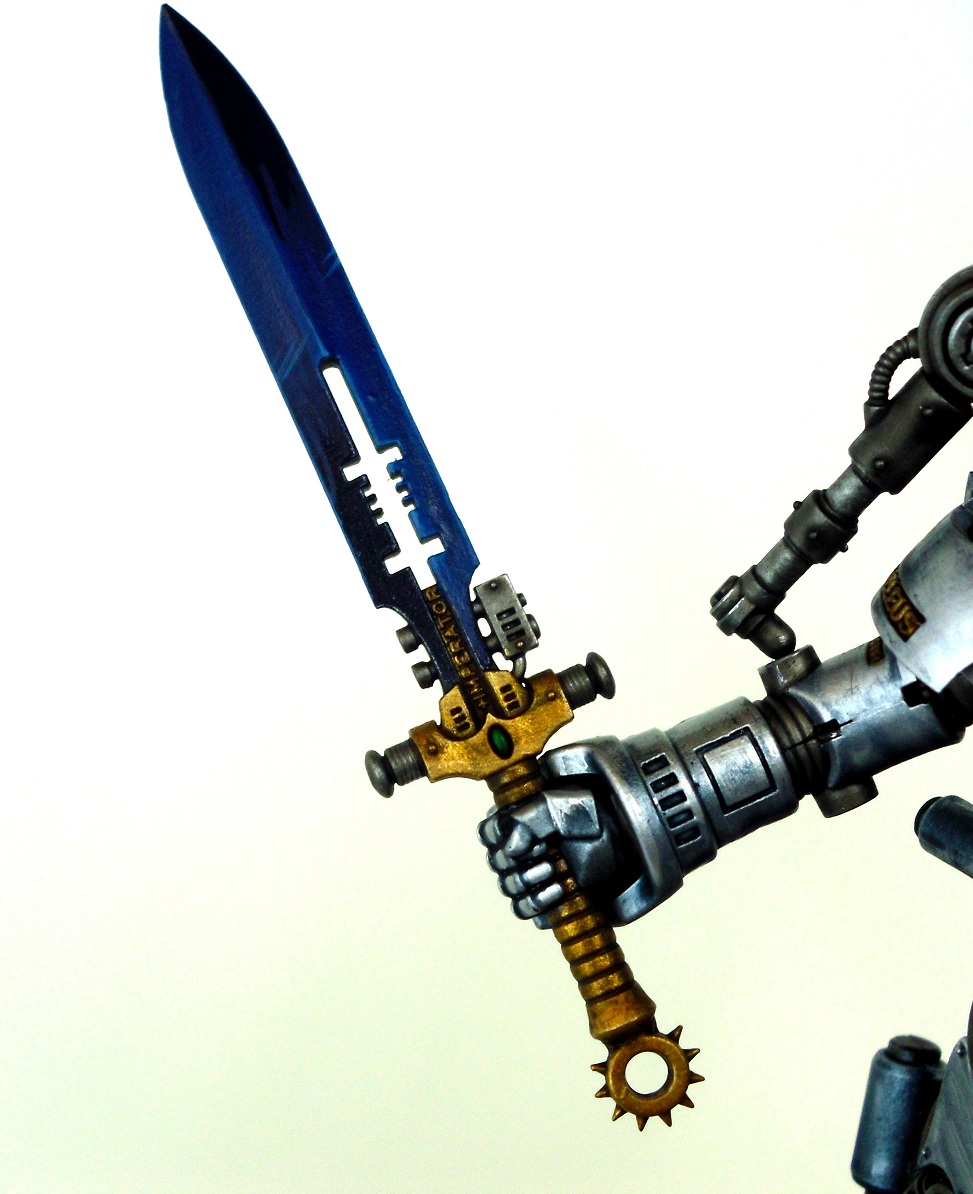
DETAILS
Not many details on this model, the main one is the sword blade, so I’ll go through a few quickly.
BLACK – Paint black areas with a mix of CHAOS BLACK, with a tiny bit of ADEPTUS BATTLEGREY. So its not quite pure black, highlight this with pure ADEPTUS BATTLEGREY.
BONE – There’s a few skulls and scrolls that can be done this colour. Paint DHENEB STONE, wash with DEVLAN MUD, then highlight with BLEACHED BONE

SWORD – The blade was painted by blending colours through NECRON ABYSS / ICE BLUE, i’ll go into more detail on swords in a future guide.
This guide was written by Owen from Painted Legions, visit his blog for more great guides: Painted Legions
Pingback:Grey Knight Video overload (and some more articles) » ¡bitzkrieg!