Magnetizing Guide – Dark Eldar Talos/Cronos
 This is a modelling guide explaining how I converted the Games Workshop, Dark Eldar Talos/Cronos, so it can be also used as both a TalosPain Engine and a Cronos Parasite Engine.
In this guide I’ll be using a lot of magnets, using magnets is probably the easiest way of making interchangeable components. Blue Demon magnets are a great range
First you need to divide the model into several components, I’ll go through each one individually explaining where the magnets go. I’ll assume you stick the magnets in place, in the right orientation (relative to adjacent components)
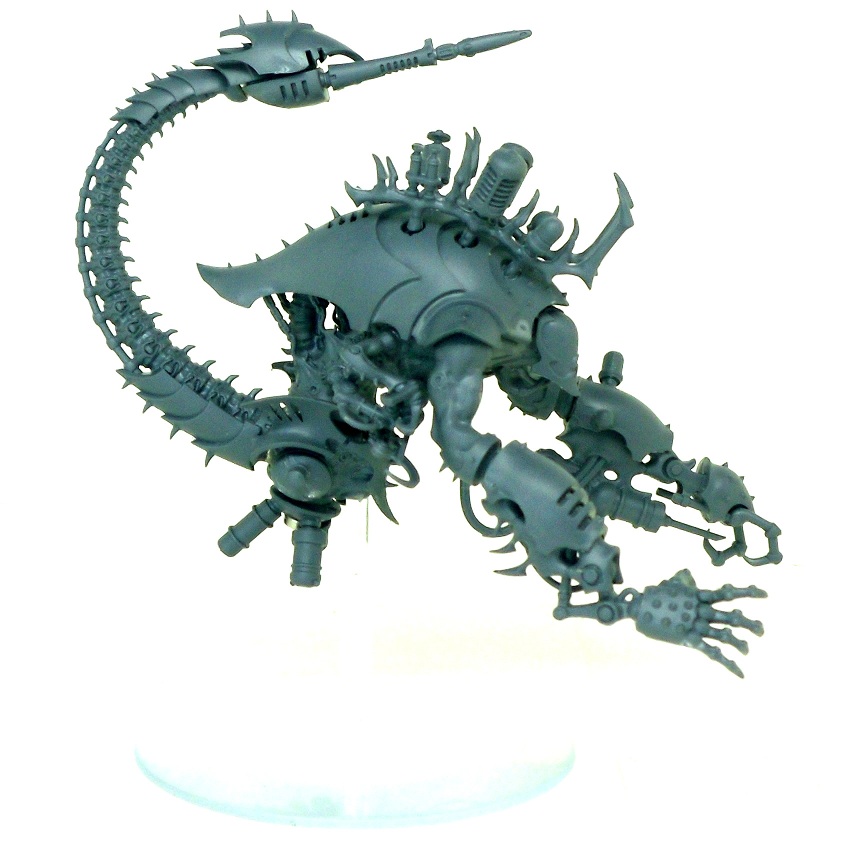
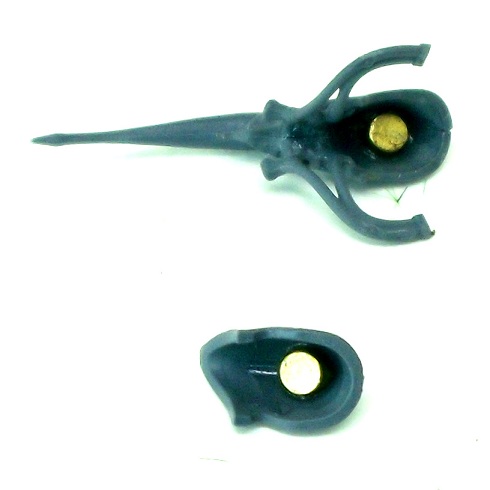
 1 – HIPS – Heres the first component, it will be glued to the rest of the body, but i’m describing it as a separate component as the magnets have to be attached before it is fully assembled. Cut away at the “bottom” and “back” attachment areas creating holes, insert a piece of greenstuff for the magnets to rest against, I used a large magnet for the tail as this is quite a large piece.
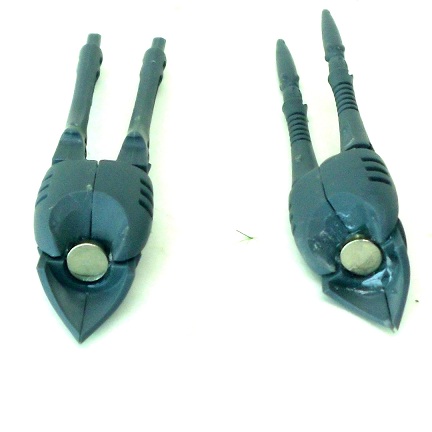
2 – WEAPONS – The left weapon hand can be interchangeable, there are a few option, but only 2 arm plates. Chose the 2 weapons you want to change between, and construct them. Drill a hole where the piece meets the upper arm, and insert a magnet.
3 – BODY – Build the body, and attach the hip piece, before fixing on the carapace, cut away the top piece of the neck, and glue in one magnet, this will allow the helmet to be attached. Drill into each arm socket and glue in a magnet.
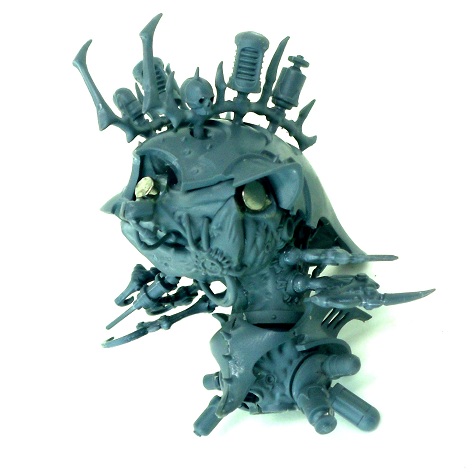
4 – HELMET – Nice easy one, put a small magnet into each helmet. Its best to use the helmets without holes in, as i found out when i super-glued one to my finger.
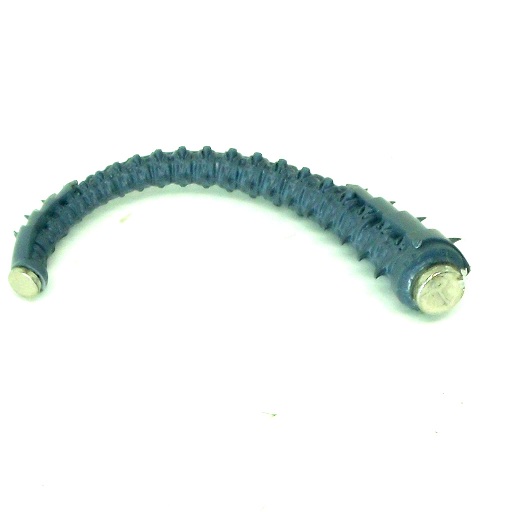
5 – TAIL – A simple magnet on each end will do, you may need to cut a little plastic away to make a flat surface.
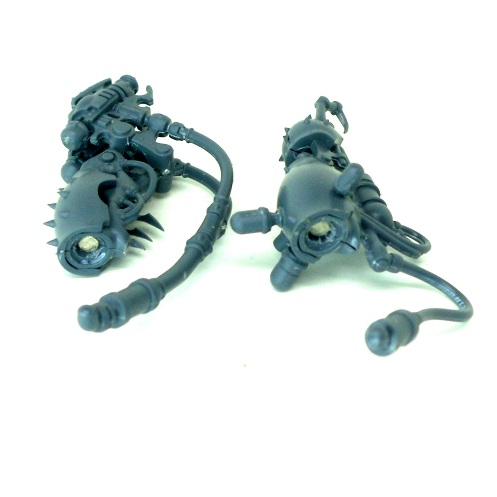
6 – GUNS – Glue in a magnet into the back of the gun, leave off the cover on the top of the gun as this is interchangeable. it just slots in so no magnet is required.
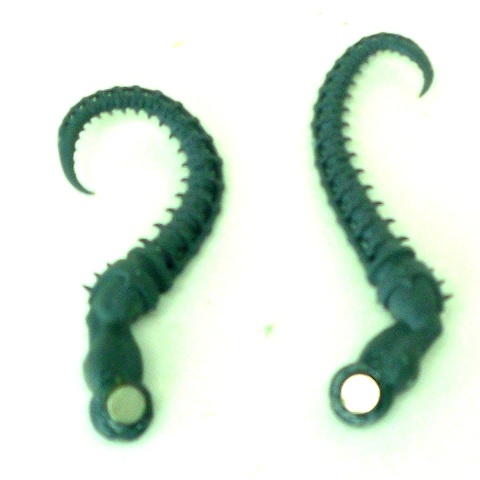
7 – CRONOS ARMS – Attach a magnet at the shoulder joint of each arm.
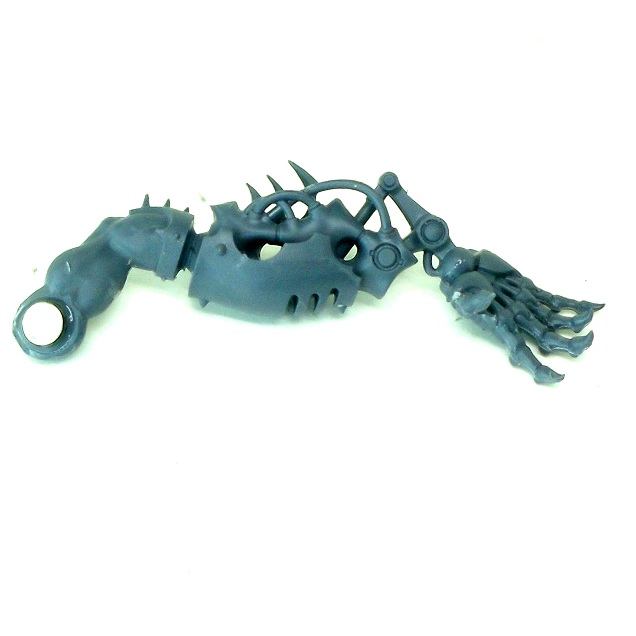
8 – LEFT ARM – This is a piece that must join two other components, so a magnet at each end is required.

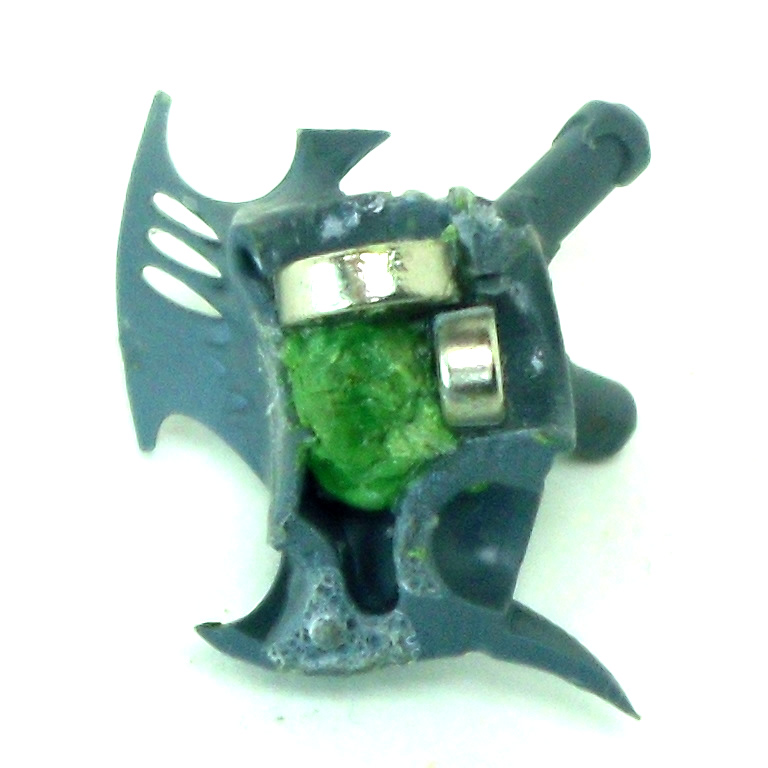
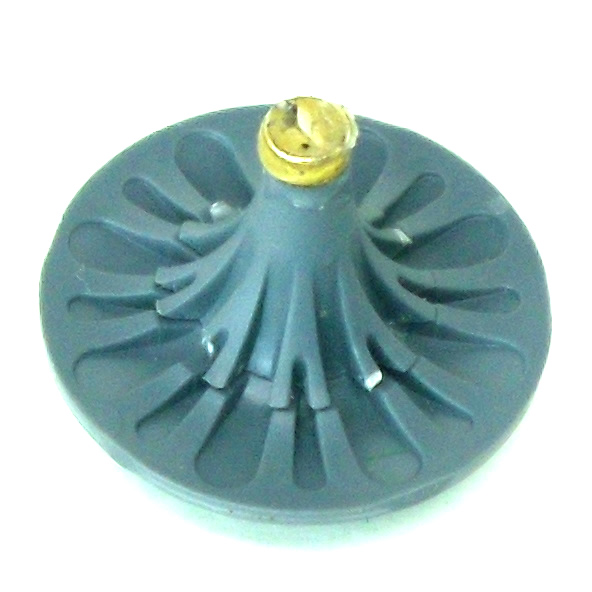
9 – SOUL THING – Quite a small surface to attach the magnet here, so a small strong magnet is needed.
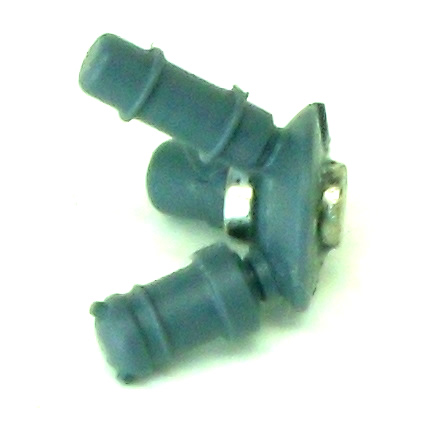
10 – OTHER THING – A weird little component here, I worked out the magnets either side need to be attached so their repelling each other so glue one on, wait for it to dry, then carefully attach the second.
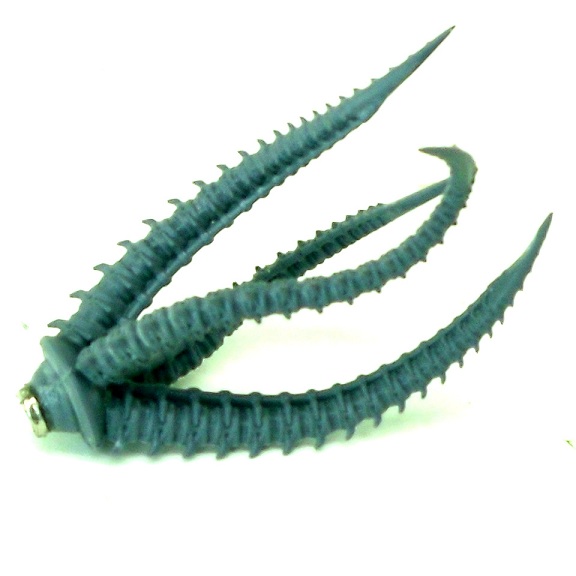
11 – TENTACLES – You need quite a strong magnet here.
12 – RIGHT ARM – Another easy one, a single magnet at the shoulder joint.
And there we are, your Talos, can now also be a Cronos!
Pick up the Dark Eldar Talos Pain Engine from Big Orbit Games at 22% off*.

*Accurate as of 27th June 2011.